Blog Layout

Change Your Leaking Faucet With These Simple Steps

Nicholas Roppo • Nov 12, 2020

Change Your Leaking Faucet With These Simple Steps

change leaking faucet

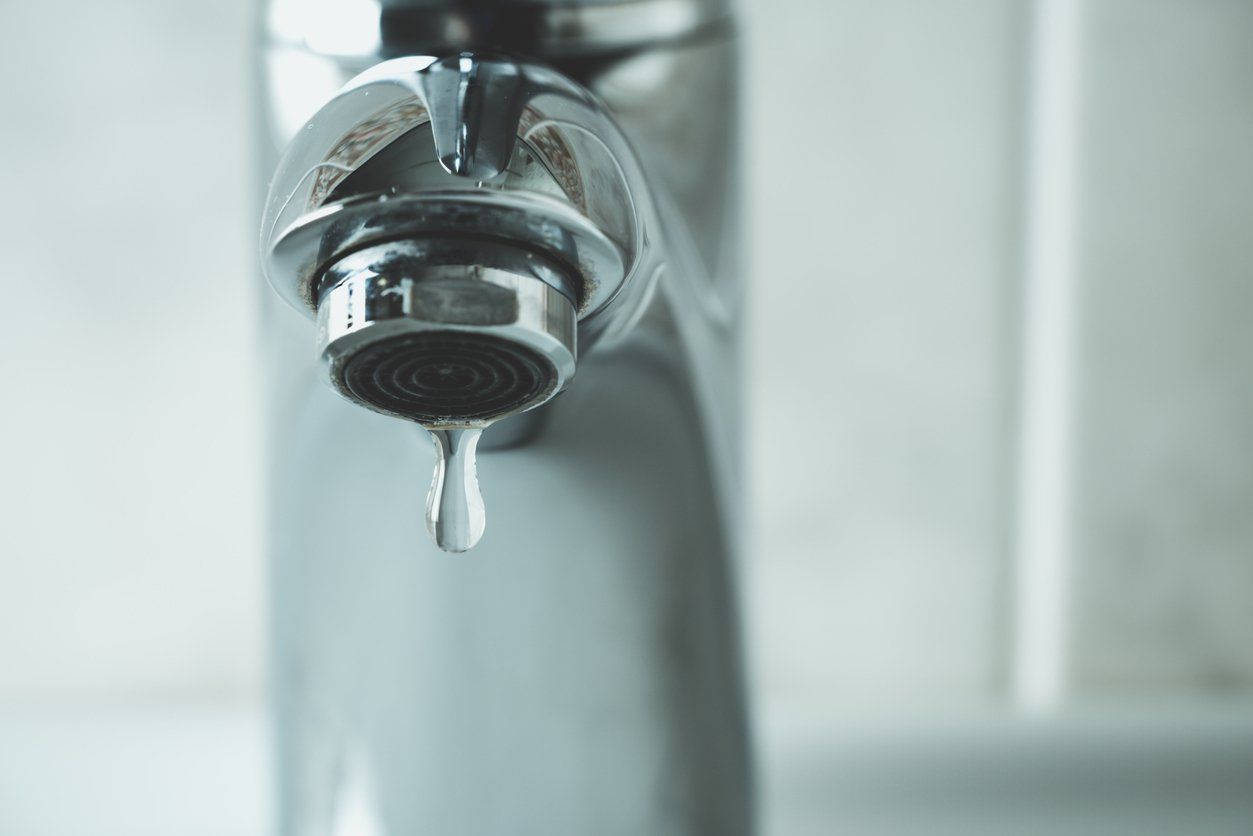
A dripping bathroom or kitchen faucet can be a nuisance. Leaking faucets also waste a lot of water. Fortunately, fixing them can be surprisingly quick and easy.


What Causes Leaks?


In most cases, the problem is usually a deteriorating O-ring in ball type, ceramic disk, cartridge faucets, or worn-out rubber washers that seal the valve seat in compression faucets. These need to be replaced, and replacements are readily available online or at local hardware stores. However, you need to determine what type of faucet you have to get a replacement that matches and is specific to your faucet.


Tools You'll Need


You'll need the following basic supplies before you start fixing your leaking faucet. A Crescent wrench, pliers, plumber's grease, Allen wrench, flat-head screwdriver, Philips screwdriver, drain plug or rag, and new washer(s)/O-ring depending on your faucet type.


Getting Started


The first order of business should be to turn off your water supply by turning off the valves beneath the sink. Plug the drain with a stopper stem or a rag to catch any small hardware parts that fall into the sink. The last thing you need is these small pieces getting lost down the drain and having to take apart the drain trap to retrieve them.


It is also advisable to take pictures as you remove any components and layout these parts on a towel in the order of their removal. This will make reassembling easy once you're done fixing your faucet.


Fixing Compression Faucets


These have two handles, thus easily identified by sight. Identify the problem handle by turning off one, leaving the other on, and note when the water stops to drip. Usually, dripping compression faucets need new seat washers.


Step 1. Remove the handles. Pry off the decorative cap on the handle using a flat-head screwdriver to expose the attachment screws. Unscrew the anchor screw inside the handle to pull it off.
Step 2. Using an adjustable wrench, rotate the valve stem counter-clockwise to get it out. Then remove the old O-ring and washer from the bottom of the stem, respectively.
Step 3. Lubricate the stem with a little plumber's grease and then put on a new O-ring and washer. You can now reinstate the stem into the faucet and replace the handle. This should solve your dripping for you.


Cartridge and Ceramic-disk faucet


For cartridge faucets, remove the handles just in the compression faucet instructions above and pull out the cartridge. Match the size of the old cartridge with the new one and then replace it. Reassemble the faucet, and you'll be good to go.


Ceramic-disk faucets have ceramics disks inside. If the seals on the bottom of the cylinder become worn, they may start leaking water through. To replace them, open the faucet and pull the cylinder out. Remove the rubber worn seals, scrub the cylinder's base, and put on new seals.
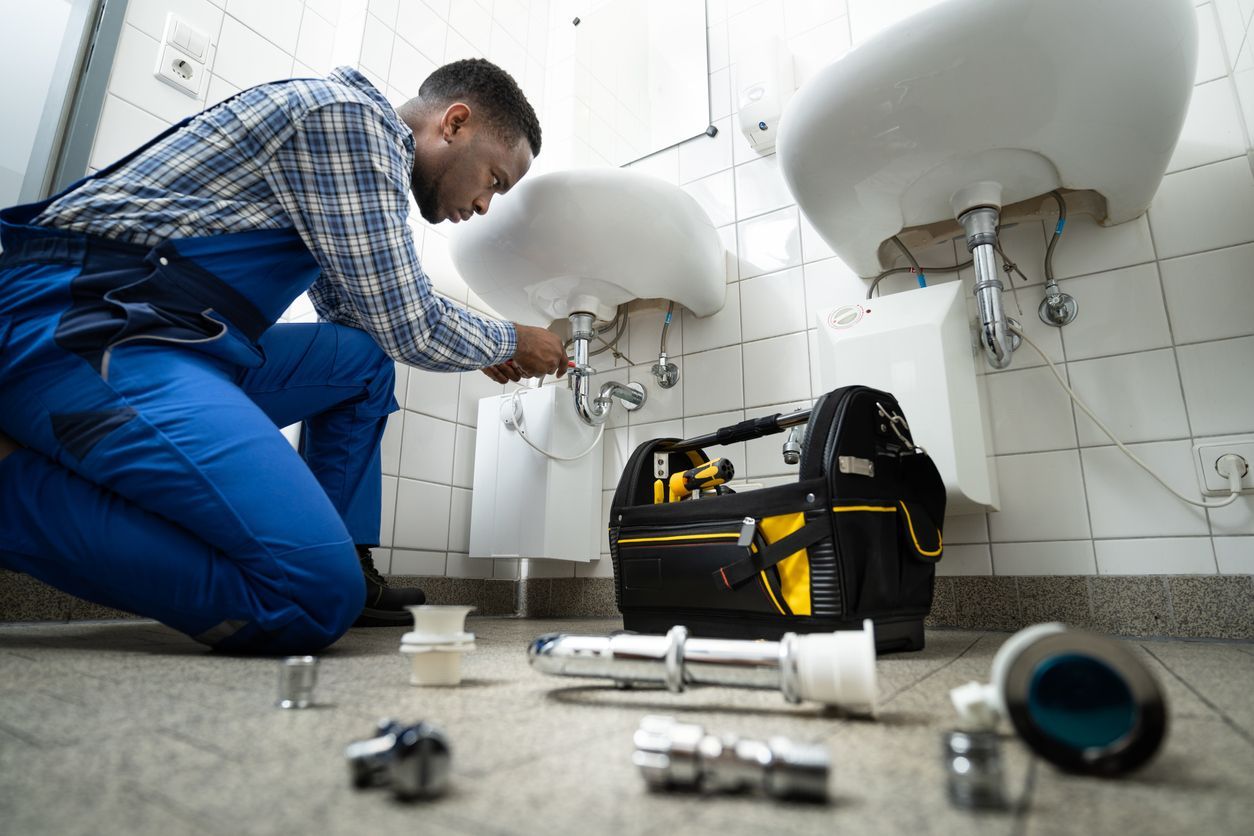


Having Any Trouble?


You may encounter some challenges while fixing your faucet; replacing O-rings and cartridges may not always cut it. Sometimes the faucet may continue dripping even after you're done fixing it. If you meet such challenges, do not hesitate to give us a call, and we'll send our highly experienced, licensed, and insured plumbers to perform a reliable faucet repair for you. 


a close up of frost on a window with trees in the background
By Nick Roppo 01 Dec, 2023
As the golden leaves of fall give way to the frosty whispers of winter in Connecticut, it’s time to shift our focus to the unsung heroes of our homes: our plumbing systems. With the crisp chill in the air serving as a gentle reminder, homeowners are encouraged to perform these essential plumbing checks to ensure a warm, comfortable, and hassle-free winter season.  1. Insulate Your Pipes: The First Line of Defense Against the Cold The plummeting temperatures of Connecticut winters are notorious for freezing pipes, a situation no homeowner ever wants to face. To counter this, inspect all exposed pipes in areas like the basement, attic, and under kitchen and bathroom sinks. Foam pipe insulation, a readily available and cost-effective solution, can be your first line of defense. Remember, even the smallest pipe can cause an upheaval if frozen, so leave no pipe behind! 2. Drain and Disconnect Outdoor Plumbing Fixtures Outdoor plumbing is often the first casualty of freezing temperatures. Start by draining garden hoses and, if possible, store them indoors. Shut off the valves to outdoor faucets and drain them to prevent any remaining water from freezing and expanding, which can lead to cracks and leaks. This simple step can save you from unexpected repairs come spring. 3. Give Your Water Heater a Wellness Check A chilly Connecticut winter morning without hot water is a dire situation indeed. Your water heater works overtime during the colder months, so ensuring its efficiency before winter is crucial. Flush out the tank to remove sediment buildup, which can hamper efficiency and shorten the lifespan of your heater. If your water heater is older than 10 years, consider consulting a professional to assess its condition. Remember, an efficient water heater is not just about comfort; it’s also about cost-effectiveness. 4. Clear Your Gutters and Drainage Paths While not directly part of your indoor plumbing, gutters and external drainage systems play a vital role in protecting your home’s foundation and structure from water damage. Ensuring these are clear of leaves, twigs, and debris will prevent water buildup and ice dams, which can lead to more significant issues like roof leaks and foundation damage. 5. Know Your Home: Locate Your Main Water Valve In the unfortunate event of a pipe bursting, time is of the essence. Knowing the location of your main water shut-off valve can avert a minor mishap from turning into a major catastrophe. This knowledge is particularly crucial for those chilly mornings when a frozen pipe suddenly bursts. A quick response can significantly reduce the extent of water damage. Conclusion: A Stitch in Time Saves Nine Taking proactive steps to winterize your plumbing can save you from the headache of dealing with emergency repairs in the dead of winter. Remember, these checks not only protect your plumbing but also contribute to the overall health and longevity of your home. And, should you encounter any issues beyond your expertise, don’t hesitate to call a professional plumber. After all, peace of mind in knowing your home is prepared for the winter chill is priceless. As the adage goes, “A stitch in time saves nine,” and this couldn’t be more true when it comes to preparing your home’s plumbing for the Connecticut winter. So, as you enjoy the last of the autumn hues, make a plan to give your plumbing system the attention it deserves. Your future self, comfortably sipping hot cocoa in a warm, leak-free home, will thank you.
By Nick Roppo 27 Nov, 2023
As the vibrant leaves of autumn give way to the stark, frosty landscapes of winter, homeowners in Connecticut face a unique set of challenges. Among these, the risk of frozen pipes stands as a silent adversary, waiting to strike in the coldest months. This comprehensive guide is dedicated to helping you, the savvy homeowner, navigate the complexities of winterizing your plumbing system. Our aim? To ensure that when Jack Frost comes knocking, your home's pipes remain unfazed, safeguarding your cozy abode from the grip of winter's chill.
A plumber inspecting pipes during the rough-in plumbing installation process
26 Jun, 2023
While rough-in plumbing is not visible once construction is complete, it is critical to a home’s plumbing system. Here’s what homeowners need to know.
A beautiful homeowner is talking to a male plumber for rough-in plumbing
By Brad GMBAccess 12 Apr, 2023
Rough-in plumbing entails the installation of pipes, valves, and other fixtures that will eventually be hidden from view. Let's look at the plumbing rough-in process and its benefits.
Senior constructor worker removing the separation between tiles on the wall for a bathroom upgrade
By Brad GMBAccess 08 Apr, 2023
Upgrading your bathroom can be a smart investment that makes your home more comfortable and increases its value. Consider these bathroom upgrades with the highest ROI.
A male plumber fixing the pipe in the bathroom using the most recent materials
By Brad GMBAccess 17 Feb, 2023
Here are some helpful tips to keep in mind as you upgrade the plumbing in your home.
An old, rustic stone well with a wood shingle roof is in the backyard of the house
By Brad GMBAccess 10 Feb, 2023
Before purchasing a property with a well, there are some factors that you need to consider Here are some steps to take before buying a new home with an old well.
A smiling couple is shaking hands with the plumber.
By Brad GMBAccess 03 Feb, 2023
Your sinks and fixtures may become stained as a result of rust. Here are some actions you should take if you notice rust in the water in your kitchen sink.
plumber pointing out to couple problem of their sink's pipe
By Brad GMBAccess 31 Jan, 2023
Installing water filtration systems and changing old pipes are some of the ways to do an upgrade. Here are the top five ways to upgrade your plumbing for better water.
Plumber greets a smiling couple  with a handshake in their new buy house
01 Dec, 2022
If you are looking to buy a new house with an old well and have no experience with water wells, here are some tips you can do.
More Posts
Share by: